We now have a single sprite with most of our common (and a few uncommon) icons in it. The system described below makes it very easy to use any of these icons in several different ways. The CSS for hundreds of potential combinations is relatively small. Even though you may not use the majority of the ~60 icons in the sprite the savings of the reduced number of files and simplified CSS make it worth the minor cost.
There is still a place for single images for use with plugins that can't leverage the sprite system (calendar) or where the height of the element would show the next sprite icon.
First, lets make the element we want to act on semantically correct. Use the appropriate element (anchor, span, etc) and insert appropriate text.
<a href="#d">Delete property</a>Adding the class of "sprite" loads the sprite image into the layer. You won't see anything yet as the top left corner of the sprite is empty.
<a href="#d" class="sprite">Delete property</a>You then call the class of the icon you want such as delete, edit, info, etc. This positions the image correctly to show the specific icon you want but still no spacing.
<a href="#d" class="sprite delete">Delete property</a>Then you can add one of the following classes that define how the icon will be used (spacing). Each must be accompanied by the sprite class or they won't work. They are as follows:
This will hide the text and show the icon only. The element will be set to the icon height (usually 16x16). Useful for a delete/edit/etc column in a table. The text is hidden, but still there for accessibility and potentially SEO if public. We even have a snippet of jQuery that will take the text and make it the title so you get a tooltip on hover.
<a href="#d" class="sprite delete icon">Delete property</a>This will add padding to the left side of the element to make room for the icon and a little space in-between (20px total).
<a href="#d" class="sprite delete prefix">Delete property</a>Floats the element to the right and adds a margin-left to provide spacing between multiple floated elements.
<a href="#d" class="sprite delete prefix right">Delete property</a>Floats the element to the left and adds a margin-right to provide spacing between multiple floated elements.
<a href="#d" class="sprite delete prefix left">Delete property</a>Hopefully it's obvious how, by mixing the correct classes, you can create many more options then are specifically defined. You can easily add or change icons without having to go back to the CSS to create or edit classes each time.
Name column uses prefix, delete column uses icon, add/move items uses .prefix.right, print/save uses .icon.left.
| Name | Last Updated | |
|---|---|---|
| Name 0 | Mar 16, 2012 | Delete |
| Name 1 | Mar 15, 2012 | Delete |
| Name 2 | Mar 14, 2012 | Delete |
| Name 3 | Mar 13, 2012 | Delete |
Now we can change things up just by changing the modifiers (icon/prefix/left/right).
| Name | Last Updated | |
|---|---|---|
| Name 0 | Mar 16, 2012 | Delete |
| Name 1 | Mar 15, 2012 | Delete |
| Name 2 | Mar 14, 2012 | Delete |
| Name 3 | Mar 13, 2012 | Delete |
The following is a list of all 60 icons that are in the default sprite. View as icons or as prefixes
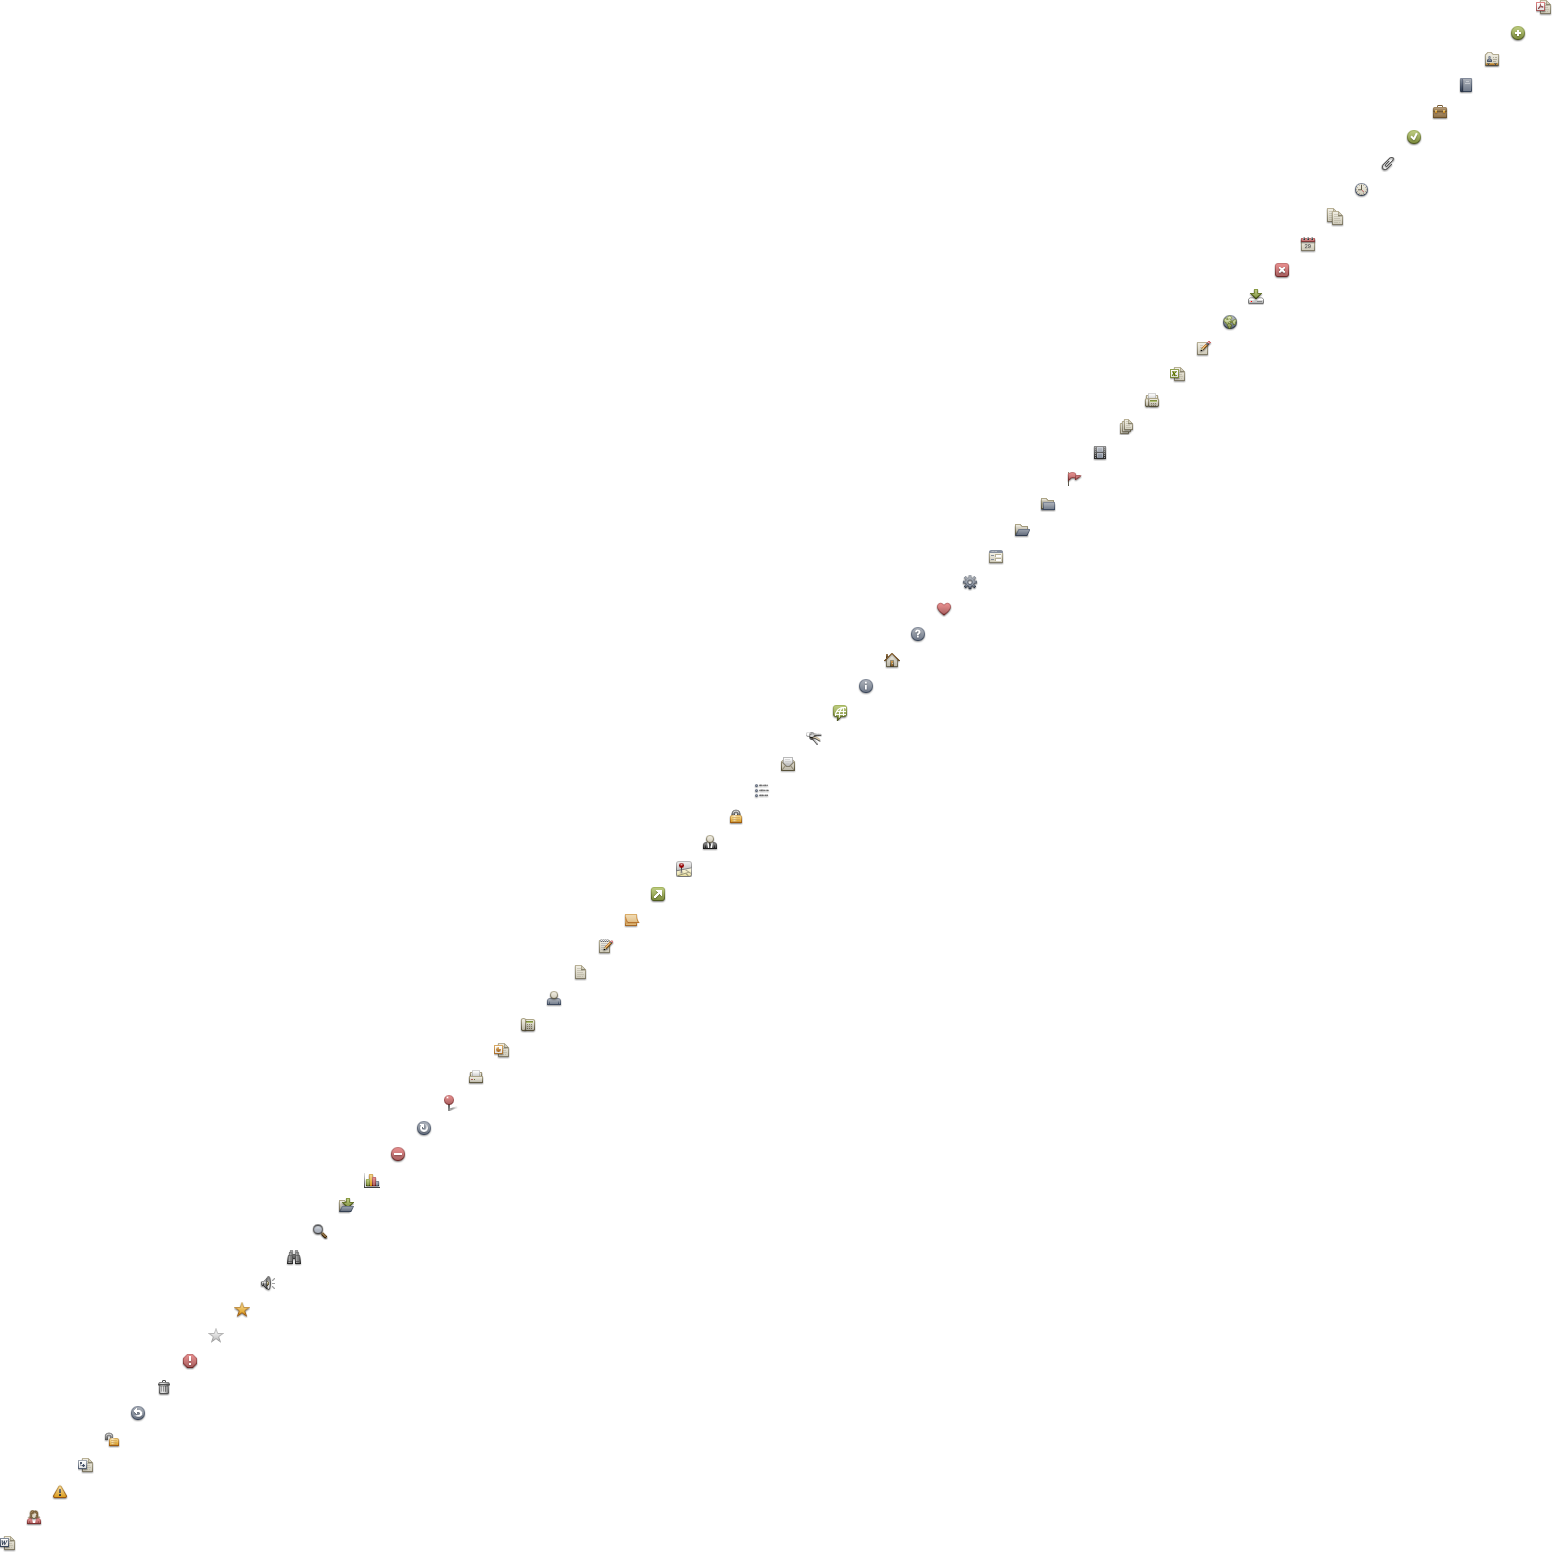